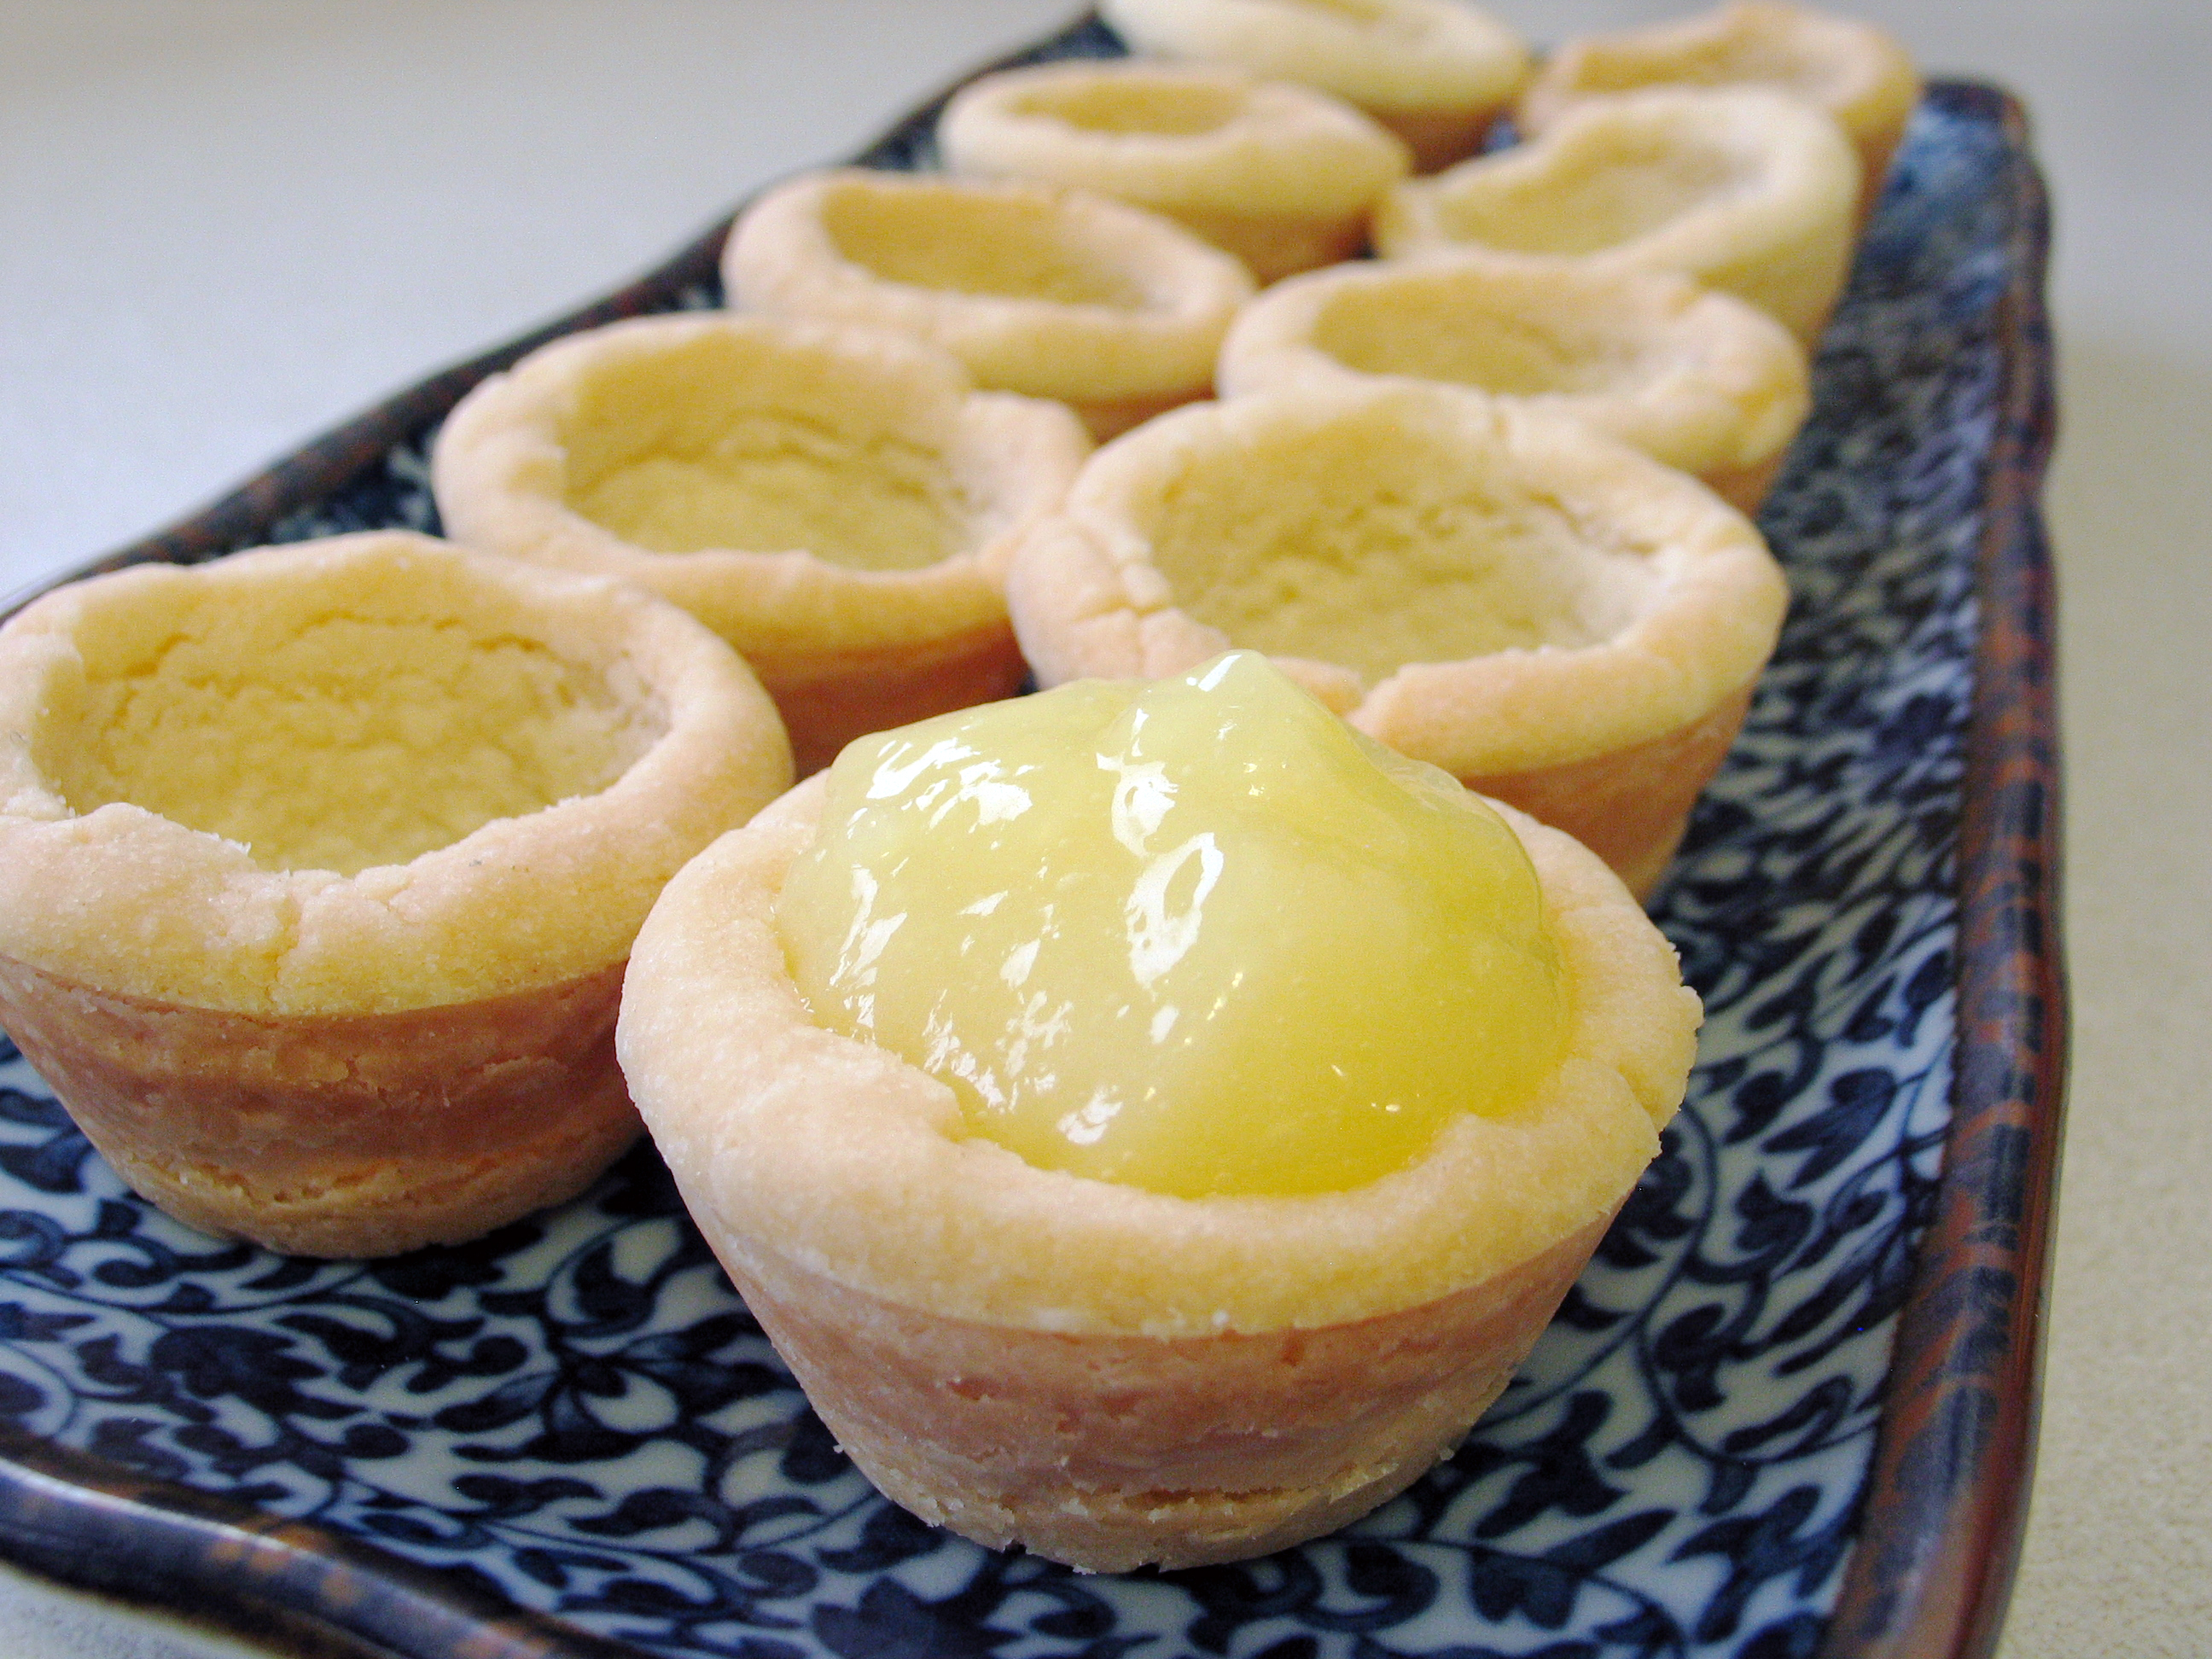

Lemon Tarts
Description
To end off the year with. One of my most favorite treats, I think they’ll officially have to be a Christmas item so that I don’t get carried away, and they’re directly from Deanna, of course. Happy New Year!
Ingredients
Lemon Filling
3/4 c. lemon juice AND zest from 1 large lemon
1 c. (200 g) sugar AND 2 eggs, lightly beaten
3 T. (43 g) butter, melted (or just put this into the pot first to melt, it makes for easier mixing)
Tarts
1 c. (227 g) butter, room temperature AND 1/2 c. (60 g) icing sugar
1 1/2 c. (188 g) flour AND 1 T. cornstarch

Instructions
Whisk all ingredients for the lemon filling together in a medium saucepan – I actually used my non-stick skillet and a silicone whisk. Once everything is combined, turn the heat on LOW, and cook and whisk until the mixture thickens. This will take 20 to 30 minutes – so be prepared, and be patient, it has to be on low heat or you’ll cook the egg and ruin it all. I found that once it clouded up I was about half way there, and it really does obviously thicken – even if it’s only by a little bit. Using my non-stick skillet and silicone whisk, I find that once the bottom of the pan remains visible for a moment, then it’s been thickened/cooked enough – it will also continue to thicken as it cools. This will keep for ages in a sealed container in the fridge (but you’ll want to inhale it much sooner).
For the tart shells, preheat the oven to 300 and put all of the butter into the bowl of your electric mixer, beat 1 minute, then add the sugar, beat again, then the flour and cornstarch and stir on low, then medium speed until it all comes together as dough. I found this to make a perfect 2 dozen tarts, so it’s easiest for me to weigh it, divide it up and roll the dough into 24 tablespoon-sized balls. I have a handy wooden tool with no name – mini-tart press? – that makes making mini tarts a breeze, so I lightly greased only the bottom of 24 mini tart cups, dropped a dough ball into each cup and then carefully pressed each one until it was a lovely tart shape. Don’t worry if they’re not perfect, you’ll be pressing them again.
Bake for 10 minutes, then remove your pans from the oven and re-press all of the tarts – don’t be wimpy, you want proper tarts with space for lemon filling. Bake for another 10 minutes, remove them from the oven, lightly shape them all again, and then allow them to cool in the tart pan for a good 10 minutes. Use a sharp edge to carefully loosen or lift out each tart and then leave them on a rack to cool completely – make sure to break at least one though so that you have an excuse to try one (with the filling, this is why you make the filling first!). These freeze really well, but as mentioned, they won’t last long. Enjoy!
- Category: Tarts, Lemon, Christmas
Oh man, that wooden tart press is AWESOME! Any idea where I might pick one up?
Katie
I’m thinking it was from Pampered Chef or one of those home shows…I ALWAYS end up buying something! – if I see one around, I’ll definitely let you know!